
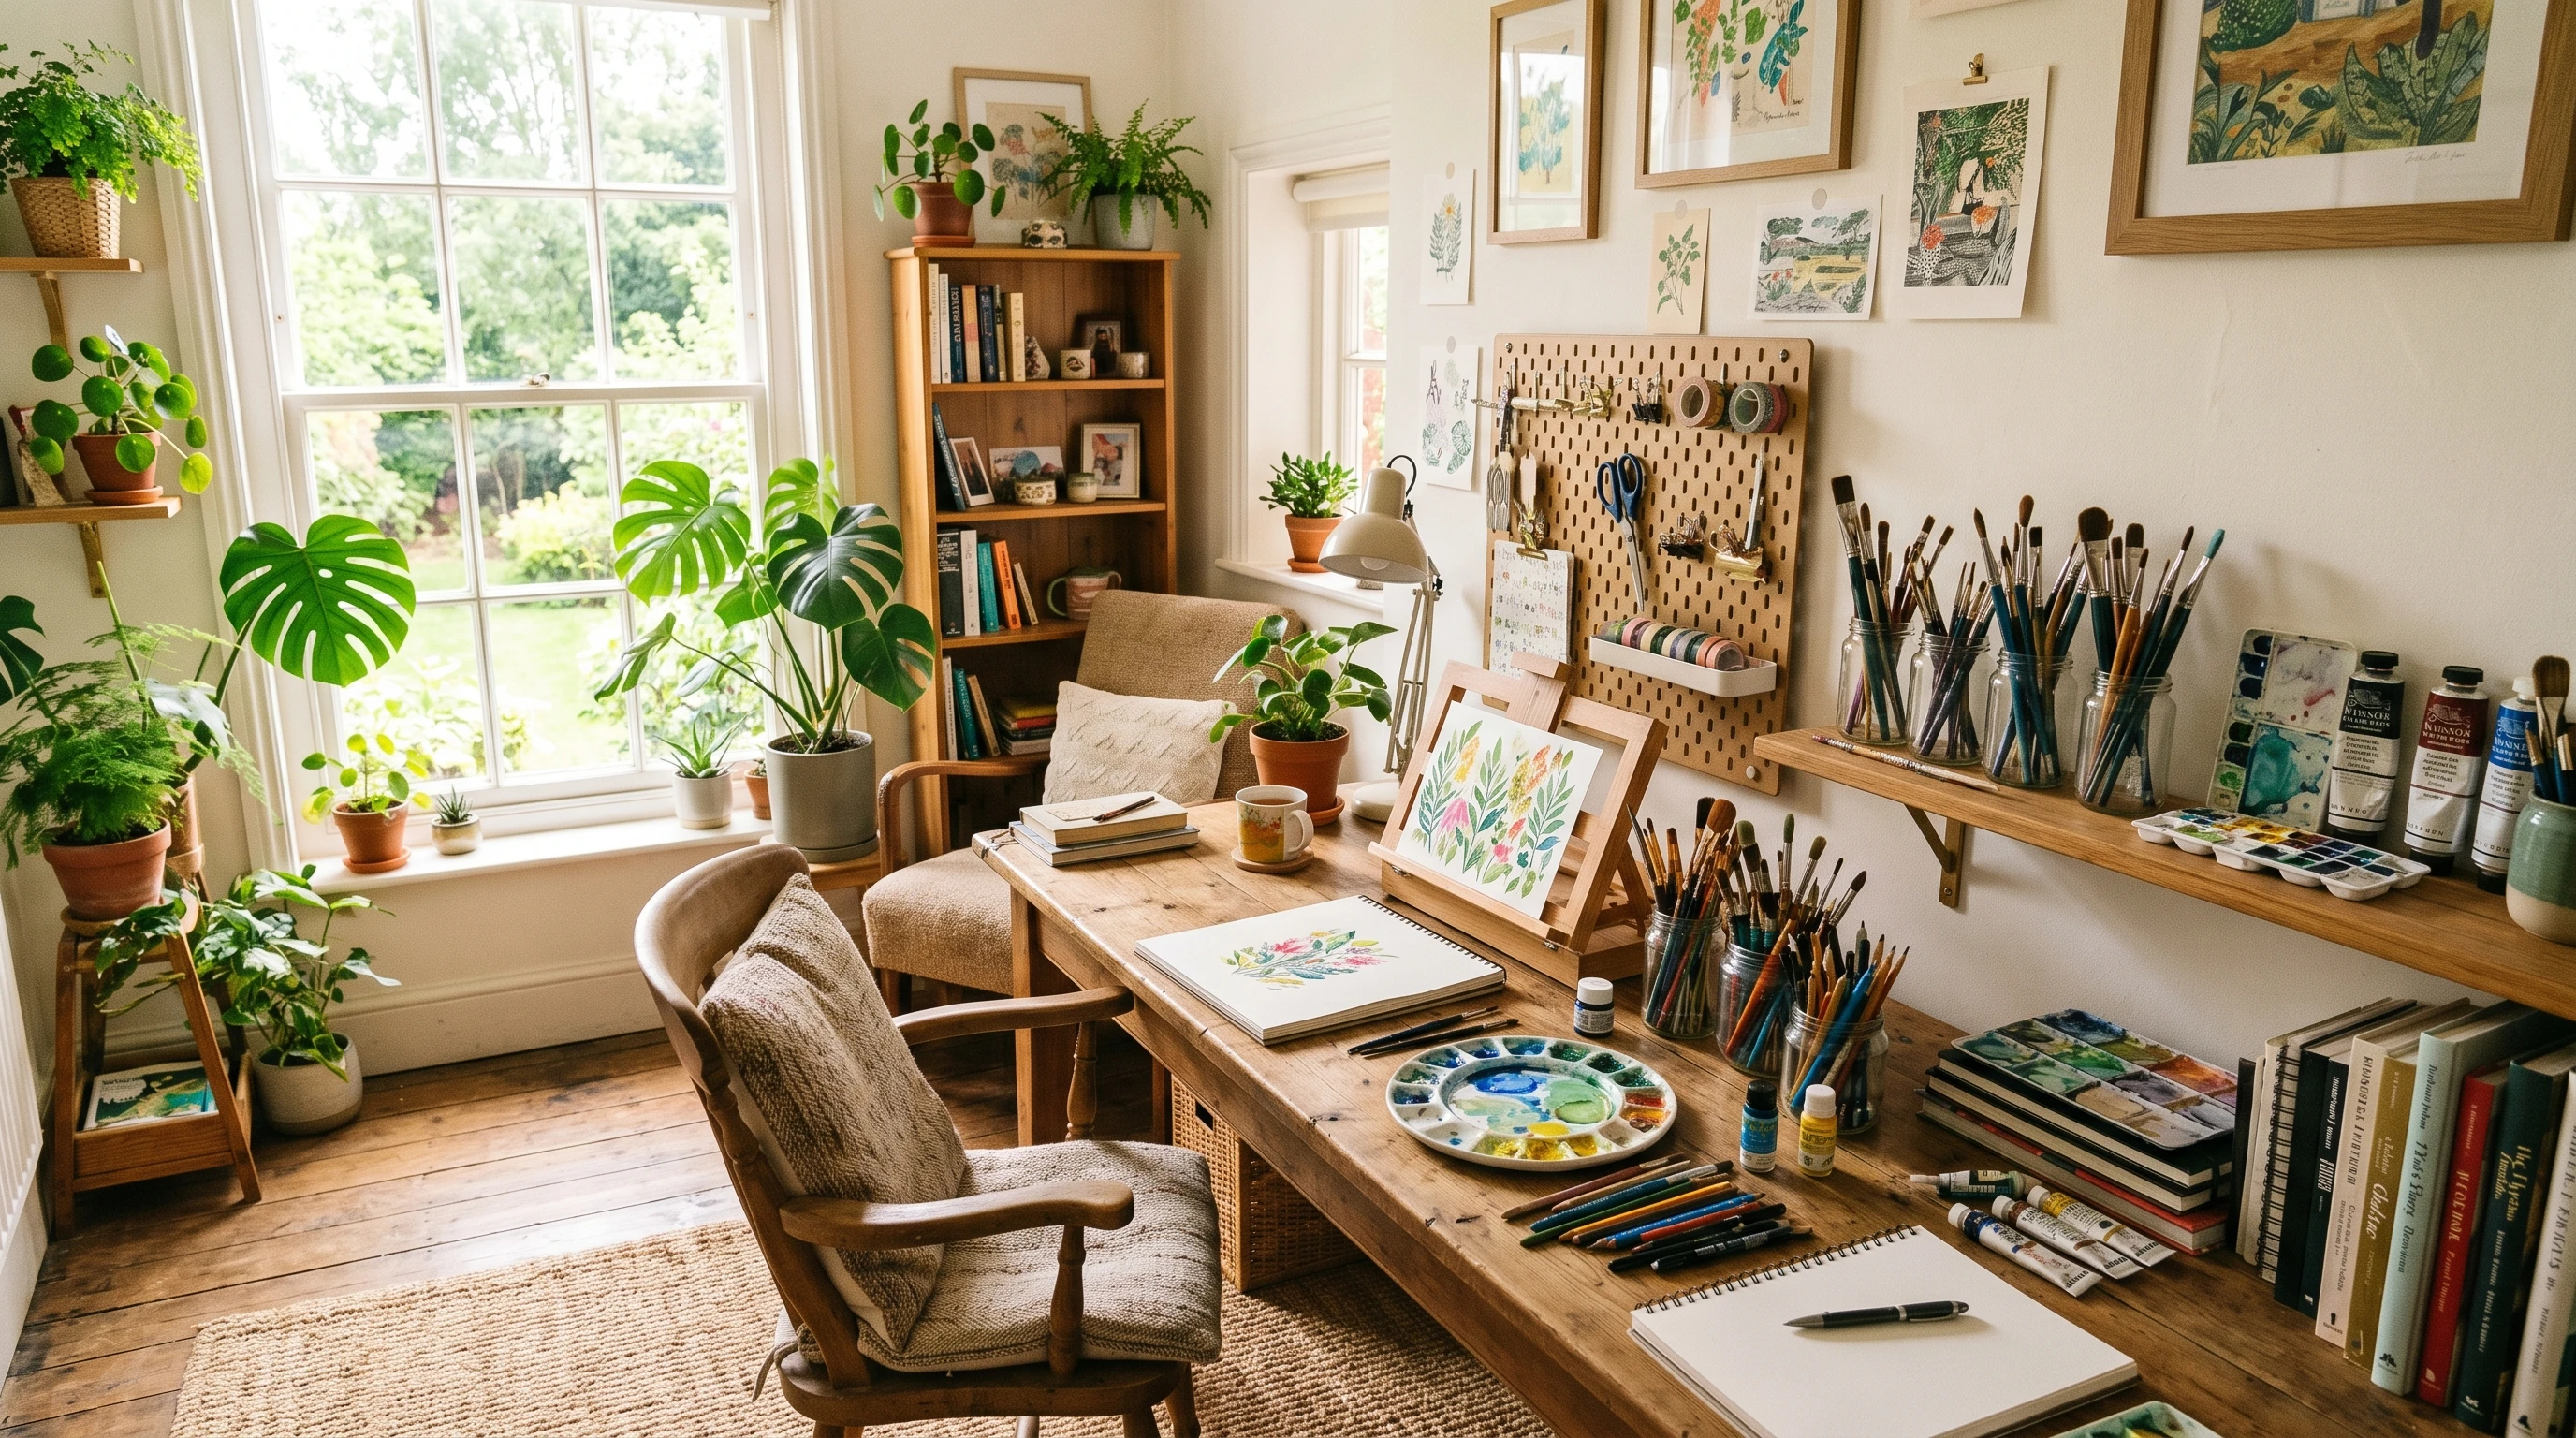
Making an art studio at home is a dream for many creative folks. I’ve found that having a dedicated space for painting, drawing, or crafting boosts your confidence and keeps you inspired. Feeling confident and inspired in your space encourages you to create more and enjoy your art journey, which is essential for your growth and happiness.
Whether you’ve got a spare room, a quiet corner, or just a sturdy desk, I’ll break down everything you need to know to create your own art studio at home. You don’t need to spend a lot. Simple DIY ideas and budget-friendly tips can help you get started without breaking the bank. With some planning and a little bit of creative thinking, you’ll have a space that makes you want to keep coming back for more. Let’s jump in!
Step 1: Decide What Your Art Studio Needs
The first thing to figure out is what you want to do in your studio. Every artist works differently, so think about your favorite mediums and how much space your projects need. Your creative area sets the stage for everything else, from picking a location to stocking up on tools.
Questions Worth Considering:
- What kind of art do I want to make? Painting, drawing, digital, crafts, or something else?
- How much space do I need for my work (can I work small, or do I like to go big)?
- Do my projects get messy or require good ventilation?
- What storage do I need for supplies, papers, canvases, or tools?
- Do I want to listen to music or have reliable power for electronics?
Taking time to identify what matters most to your creative style simplifies your setup process and ensures your studio effectively supports your work. For example, mixed-media artists might need space for many surfaces, while illustrators could focus on lighting and tablet setups.
Step 2: Find the Right Spot in Your Home
Now it’s time to scout your place for the best spot. Some people have a spare room, but it’s totally normal to transform a small nook, a garage corner, a section of a basement, or even a roomy closet. Picking a spot where you can focus without interruptions helps you trust your space and feel more confident in your creative process.
How to Pick a Spot:
- Pick somewhere with natural light if you can; it’s great for most art projects and mood.
- Look for a spot where you won’t be interrupted a lot. Privacy is handy for creative flow.
- Check that the area is easy to clean, especially for things like paint or glue.
- If you make a lot of noise or need power tools, pick an area where you can work peacefully without disturbing others.
Even a tiny corner can work if it’s organized and set apart just for art. A folding screen, a curtain, or a bookcase can help separate your art space from the rest of the room if you need a bit of privacy. If your home faces limited space, you could even use an outdoor balcony or patio during warm weather.
Step 3: Gather the Basics: Furniture & Lighting
You don’t have to buy everything new, but there are a few basics that every home art studio benefits from. Think about sturdy surfaces and good lighting first; these make everything else easier to manage, especially for long art sessions.
Must-Have Studio Basics:
- Worktable or Desk – A strong, flat table gives you space to work. If you paint or do large crafts, bigger is better, but even a repurposed kitchen table works well.
- Comfortable Chair – Pick a comfortable chair that you can sit in comfortably, especially if you plan to sit in it for a while.
- Lighting – Good light really matters. A spot near a window gives you natural light, which can boost your mood and energy. A bright desk lamp (preferably with daylight bulbs) will help you feel confident working at night or in dark corners, creating a space where you can thrive and feel assured in your work.
- Utility Cart or Side Table – Keeping tools and paints close by keeps messes in check and helps you stay focused.
If you work with materials like oil paints or spray adhesives, having a fan, an air filter, or a window you can open is super important for air quality. Some artists even place a small air-purifying plant nearby, like a snake plant or pothos, to help.
Step 4: Set Up Smart Storage
Art supplies pile up quickly, and good storage keeps the clutter at bay. I find that clear containers, such as bins, baskets, and wall-mounted pegboards, help keep things in sight so I don’t forget what I have. Wall storage, such as pegboards or hooks, is a big help for organizing tools or keeping inspirational pictures visible. Over-the-door organizers or magnetic strips can work wonders if you’re tight on space.
My Favorite Storage Ideas:
- Use mason jars, cups, or cans to hold brushes, pens, and pencils.
- Try a rolling cart for paints, pastels, or glues you use a lot.
- Repurpose shoeboxes or plastic drawers for paper, sketchbooks, or extra supplies.
- Install a small bookshelf or floating shelves to keep your studio organized and tidy.
- Hang a corkboard for reference images, motivational quotes, or ongoing notes.
Labeling your containers makes things easy to find, and it helps keep your creative time from turning into search-and-rescue missions for lost tools. For items you use every day, keep them front and center. Seasonal or specialty supplies can be placed in a basket on a shelf for when they are needed.
Step 5: Personalize Your Creative Space
This part is what makes your art studio feel like yours. I always surround myself with a few favorite pieces of art, color swatches, or meaningful objects that spark inspiration. Even if your space is small, a couple of touches—like a plant, a cozy rug, or some string lights—can make a big difference in how welcoming it feels. You could play some of your favorite tunes or set up a mood board to spark even more creativity.
Ideas for Personal Touches:
- Hang your latest works or favorite prints where you can see them while you work.
- Add a plant or two for some greenery and fresh air.
- Pin up your favorite art quotes or creative mantras.
- Keep a sketchbook or idea notebook handy for rough ideas and inspiration.
- Choose a color theme or a fun lamp to boost the mood in your studio.
You don’t have to spend a lot; sometimes it’s the littlest details that make your studio feel inspirational and make you want to hang out there. Think about scent as well—maybe try an essential oil diffuser or a candle to mark the beginning of creative time. I personally burn incense every day while working in my art studio.
Step 6: Keep It Functional and Flexible
What works at first might change as you get into your new routine. I regularly rearrange my setup or swap out tools as I try new projects. Keeping your studio easy to adapt means your creative juices are flowing towards your next inspirational idea. Sometimes, just moving your desk or adding wheels to a table gives you extra flexibility that makes a huge difference when you want to switch things up.
How to Make Your Studio Flexible:
- Use furniture that’s easy to move, like folding tables or stackable chairs.
- Have a couple of open bins or trays to clean up quickly in a rush.
- Keep outlets and power strips handy for lamps, laptops, or other tech.
- Don’t be afraid to rethink your setup if it starts to feel cramped or cluttered; making small changes keeps your space fresh.
The best studio is one you feel happy to use, even if things get a little messy sometimes. It’s normal for a creative space to change as your interests grow. Embrace that flexibility.
Common Questions & Troubleshooting
What if I don’t have a spare room or much space?
You can create a great studio in a corner of a living room, bedroom, basement, or hallway—even a closet works! Keep it simple by using portable bins and rolling carts to pack away your supplies and keep things organized. A fold-down desk or wall-mounted shelf is also worth checking out for super-tight spaces. You could even use a large, portable cutting mat to instantly turn a dining table into a workspace, then pack it away to save space.
How do I keep my studio from getting too messy?
- Keep cleaning wipes and an old towel close by to handle spills as soon as they happen.
- Put away supplies after every session; it’s easy if you have storage bins within reach.
- Do a quick tidy up once a week to stay ahead of clutter.
- Line your work surface with an old plastic table cover or a reusable sheet to clean up faster.
What if I share my space with other people?
Setting a clear schedule with others helps to navigate your special creative and quiet time. Put your supplies in your special spot so others won’t disturb them. If that is not possible, label your container and leave a note reminding others not to touch your supplies while you’re working on something you care about. Communicating with others is a great way to ensure everyone is on the same page, without disturbing your creative juices.
Final Thoughts & Getting Started
Building your own art studio at home is more about creating the right vibe than chasing perfection. Even a simple workspace can boost your creativity, help you stay consistent, and make art feel like a natural part of your daily routine. Start small and adjust as you go—your studio is always a work in progress, and it will constantly change as you grow in your craft. Make your space work for you and let it evolve.
Your Studio Starter Checklist:
1. Pick a spot that feels comfortable and has enough light.
2. Set up a sturdy table or desk with a comfy chair.
3. Organize your supplies for easy use and cleanup.
I’d love to hear about what you add to your creative space! Leave a comment with your favorite studio hacks or what you want to try first. Every small detail can make your art adventure better, so don’t hesitate to make your space truly yours.
Heidi, this post simply grabbed me – I’m an artist too, and the idea of an at-home art studio is a dream of mine. Unfortunately, I’m 71, retired, and in a downsized home, so there is no room for an art studio. I tried for a few years using my large dining table and then setting up in the garage to do acrylic pours. But it turned out to be just too much trouble to set up and take down for a one-2 day art time. I’ve recently gotten rid of most of my art supplies. Boy, was it hard to sell my easel – but I did give away a lot of my stuff to art teachers, so it was for a good cause. Nowadays, I create my art on my desktop computer with digital tools such as Corel Painter and, more recently, with AI creation tools. At least it’s creative and fun and doesn’t take up all that space, and the “cleanup” is easy. Your suggestions on picking a space and setting up storage for your supplies are right on. Plus having a comfy chair and good light is a must. I love your statement “The best studio is one you feel happy to use, even if things get a little messy sometimes. It’s normal for a creative space to change as your interests grow. Embrace that flexibility.” Thanks for this useful post and the gorgeous image of an art studio. – Shirley
Hello Shirley,
Thank you for your beautiful post. I bet it was hard getting rid of your art supplies. It would kill me too, to try to get rid of my supplies. I am so glad you didn’t give up art completely and found another way to do it, and that you are having fun.
All my best to you,
Heidi
Got the perfect spot in my home for this new studio, been clearing it out. Trying to plan has been fun and intimidating, needed some inspiration. Might need more room than i was thinking, I now realize. Love the storage ideas, always looking to repurpose old items and would be perfect inspiration for my art. Want to surround yourself with inspiration and past work to keep the environment relaxing and motivating. Would love to see other set ups and how to keep it adjustable for new art and craft ideas I haven’t even thought up yet.
Hello John,
Thank you for your insightful comment. Yes, I agree, while getting your studio together can be intimidating, it’s also exciting. When I set up my studio, I did it in a way that gives it a productive flow. Plus, I have art pieces I have done hanging up on my walls for inspiration.
All my best to you,
Heidi